Seaweed Collection
18 June 2024

Another bench update!
Lots of additions, including my new collection of rings called 'Seaweed', inspired by the rugged and serene Freshwater Bay near my home. And, another Little Moth to keep my other moth company.


Click here if you'd like to see more about the Moths.
Whilst the weather has been not so great here, I decided to make more new things.
My Seaweed ring collection is a rustic take on classic designs, with naive scrimshaw style seaweed swaying up the ring bands. A glittering rose cut diamond like a drop of seawater from a rock pool.


I named this ring 'Freshwater Bay Ring' Available in 9ct, 18ct gold or silver.

...and a Chevron ring, which is perfect for wearing with a stone set ring. This can be made in gold or silver too.

And a simple band which I've called 'Mermaid Ring' after the amazing huge chalk Mermaid Rock that stands proud over the bay.


Also, if you fancy listening to me talk about when I set up Only Through Shadows, you can catch my podcast episode with The Artisan Founder here
Thank you for reading, and have a lovely summer!

FOLKLORE Collection
26 April 2024

I’m very pleased to introduce to you a new collection called ‘Folklore’ at Only Through Shadows. Folklore ~ Swift, Dreamer & Adventurer.
They have a naive rustic feel, with tiny illustrations of tales of ancient wisdom to guide you on your way. There are necklaces rings, and bracelets. All pieces are available in Silver, 9ct Yellow Gold or 9ct White Gold, and with different length options.
They have a naive rustic feel, with tiny illustrations of tales of ancient wisdom to guide you on your way. There are necklaces rings, and bracelets. All pieces are available in Silver, 9ct Yellow Gold or 9ct White Gold, and with different length options.


It's a funny old time these days, the economy seems hard on everyone and the future is unpredictable. So, my plan to navigate this scary mountain, is just to (in the words of the great Curtis Mayfield) keep on keeping on. It certainly does help to focus on new jewellery ideas and a brighter future. I am working on some intricate engraved and stone set ring ideas coming soon hopefully, finances permitting!


I have really enjoyed making the Folklore collection, I designed it with everyone in mind. So I was overjoyed that my daughter said she wanted the Dreamer necklace for herself, and it really suits her and she's only 11! Great choice Pehr : )


Also added this moon and pearl lariat necklace, (lariat means a noose for catching an animal, which is a strange term for a necklace, but there you go).


I've also added some plain solid 9ct gold chains. If you'd like one of my necklaces with a heavier weight chain like these instead of the one it's listed with, just get in touch and I will set up a special order with the new price online. These chains are also nice worn alone, and can be made in bracelet lengths too (contact me via the website for this option).


I love the colour of this natural teal sapphire 18ct gold ring!


Lastly, these are very limited stock, Ametrine shard drop earrings in 9ct gold.
...and a new finish for our wedding rings, Rough Sanded.

Come visit me at Only Through Shadows. Thank you for reading! Artemis x

Jewellery bench
21 March 2024


Hi!
I have been doing a little bit of filming today, for my jewellery website. It's not easy to make things with a camera pointing at you, but I'm pleased to have something usable.


I will post the video to the about page, but you can see it here below.


Come see me over at Only Through Shadows!

A place to put things
2 March 2024

I had meant to post about some decorating I have been doing in my flat, but I failed to take pictures along the way. I will take some when the light is better, but basically I have added some panelling and made a mantle with pegs onto my (completely blank and filled in) chimney breast that I hadn't really known what to do with. There is no recess even, so, as mentioned before, I have an electric stove that has flame effect and a convection heater within. Aaaanyways, I really just wanted somewhere to hang xmas stockings and put candles on, y'know? I will take a proper pic of it as soon as the mythical sun comes out.

I have been collecting some bits and pieces, like old books and dead weeds in clay pots, and my beautiful 'Sail Away' by Rowan Macgregor, a gift from my mum at xmas, which I will take better photos of soon, it was so dark they came out all fuzzy. And prints and cards by the lovely Gemma Koomen.
(I can't remember the artist of the horse print, below, but I'll add it in here when I find it) EDIT: poster by Eniko Eged.


Hard to see here, but I found this really tiny rusty oil lamp and got it working, and a miniature picture frame carved out of bog oak in the shape of a shamrock, I think this is victorian.

I made this wreath a few years ago from vintage silk millinery leaves that I found in a market a long time ago.

A next project is to be rid of the artex ceiling, which I'm planning to do myself to save money. (no asbestos don't worry!)

(My dog's chair)
I'll put some other new things in the post too...some new jewellery...


An amazing teal sapphire, which I've made into an 18ct gold ring, and new olive green tourmaline ring, and a little pearl ring too!
I was rummaging through my vintage clothes box and found this cotton dress for the photos. White works the best for jewellery I think. I think this dress maybe for an older child? and possibly Edwardian. It came out pretty good after an iron.
Here I'm wearing the new tiny gold tag necklace and Rutilated Quartz and rope chain necklace...


Rose earrings in gold with the most sparkliest ever tiny white topaz dangling down. They are small enough to wear wherever without being too showy if you know what I mean.
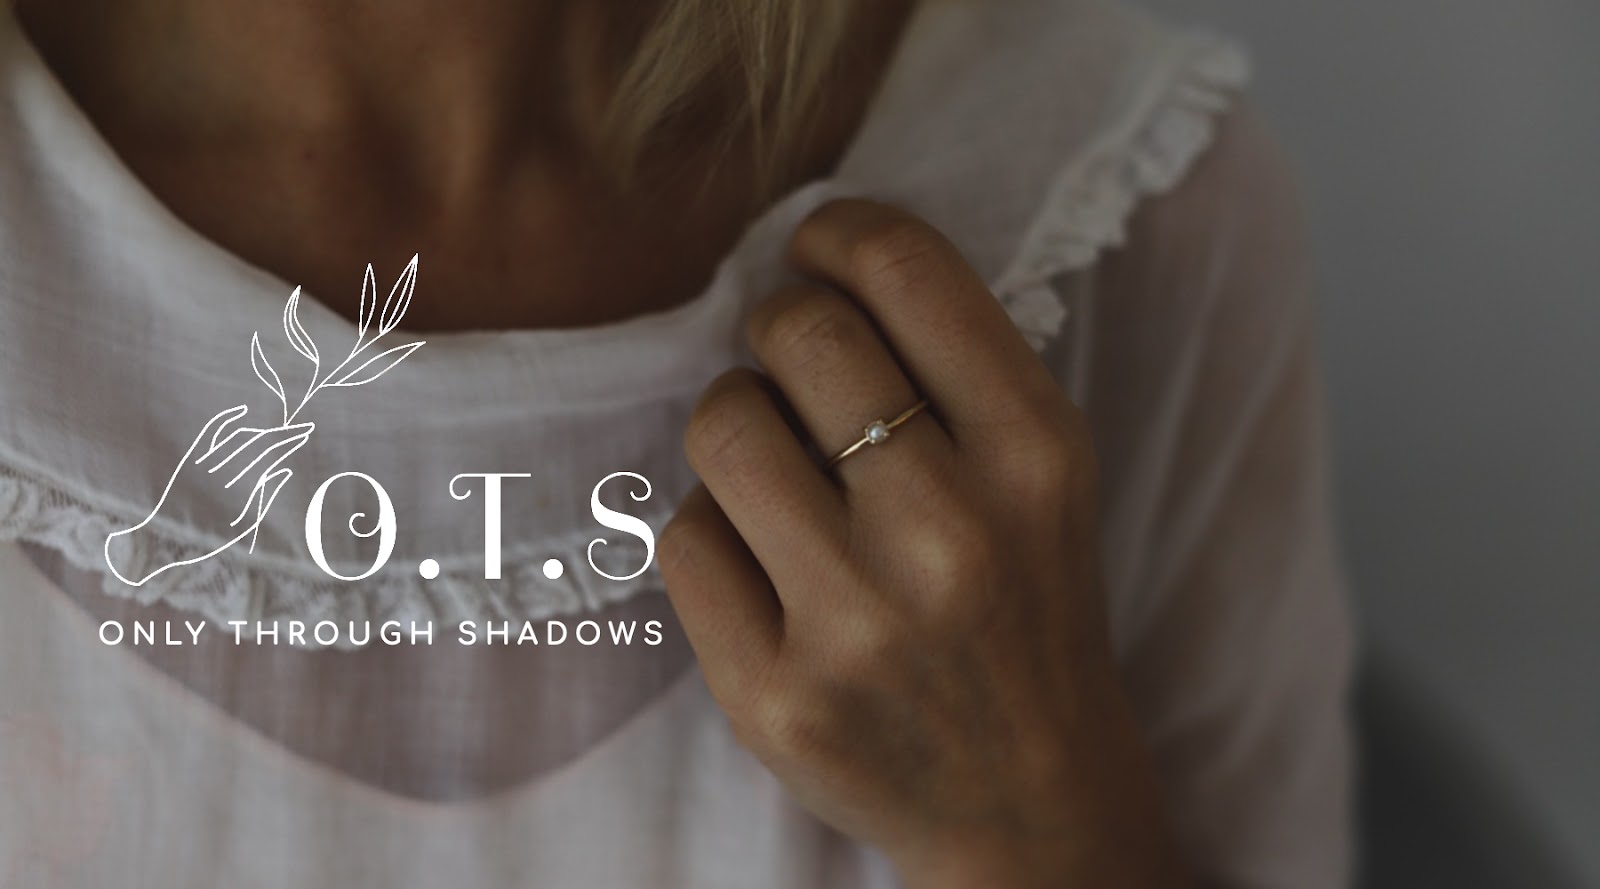
There are some other new things over on the website, click here to take a look. And, whilst I'm on that subject, I have a bit of a new look to the logo too...I think initials will work better on the jewellery box gold foils as it is bolder.

Some exciting news too! I am delighted to have been included on this beautiful brand new website called The Artisan Founder. It is a collection of amazing crafts people around the country, telling their stories of how they began, and with an up and coming market place to buy. I'm so thrilled to be found here, the stories behind the small businesses are very inspiring.

You can find my story in the journal too, where I talk about how Only Through Shadows came to be, what it is like working solo and how I'm hoping the future will pan out, click here to go have a read...

Hopefully I won't leave it so long before I post again.
Thanks for reading! Artemis
Subscribe to:
Posts (Atom)